
You're halfway through an email, your wrists are tired, and the sentence in your head is much clearer than the one you're slowly typing. On a Mac, speech to text can turn that thought into usable text quickly, but the experience depends on more than speaking into a microphone. Recognition accuracy, punctuation, app compatibility, privacy settings, and the amount of cleanup afterward all determine whether dictation saves time or creates another editing task.
macOS includes a capable starting point, while dedicated tools can add cleaner formatting, broader app support, and local processing. This guide shows where to click, how to test the native feature, what offline use really means, and when a third-party workflow makes practical sense.
Table of Contents
- Turning On Dictation in System Settings
- Enable the microphone shortcut
- Test it in a low-risk text field
- Customizing Your Built-In Macro Dictation Preferences
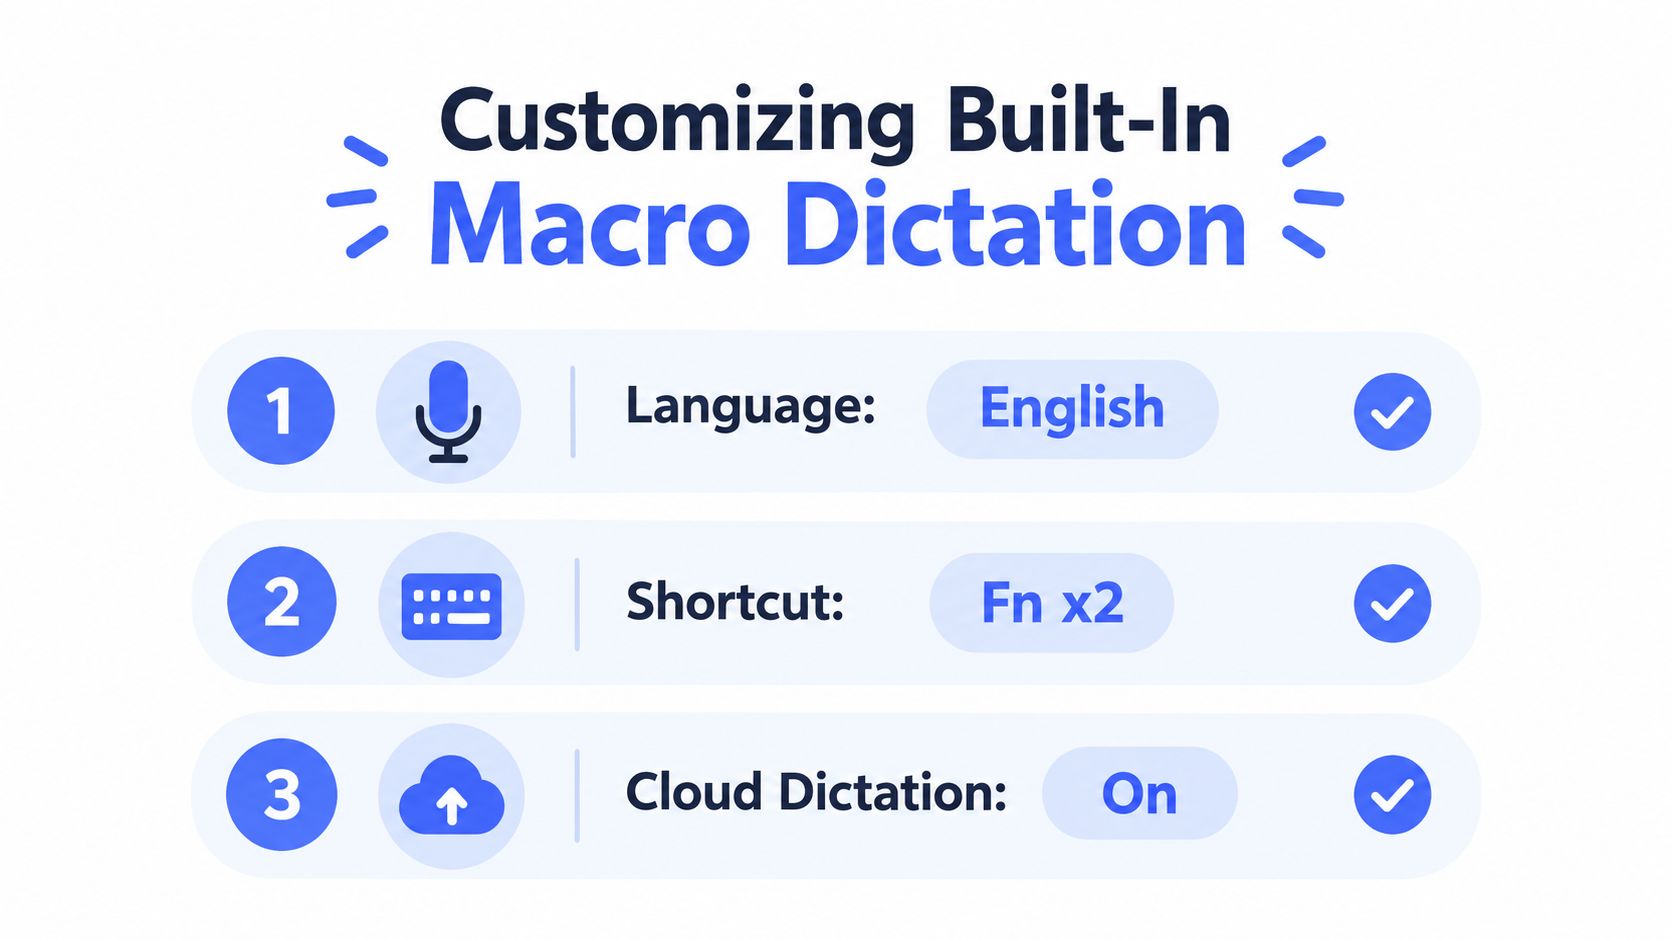
- Set the language and input device
- Choose a shortcut you'll actually use
- Review punctuation and processing behavior
- Understanding the Core Capabilities of Voice Control Pro
- Installing and Configuring Voice Control Pro
- Download and grant access
- Configure the first recording
- Verify local mode before sensitive work
- Comparing Native Tools Versus Third-Party Software
- Accuracy is an end-to-end measurement
- Privacy changes the comparison
- Building Your Optimal Voice Input Strategy
Turning On Dictation in System Settings
If typing feels slow or aggravates your hands, start with the feature already included in macOS. Dictation converts your speech into text inside the active text field, so you can use it in Mail, Notes, Messages, browser forms, document editors, and many other apps without opening a separate transcription window.
Enable the microphone shortcut
- Open the Apple menu in the top-left corner of the screen.
- Select System Settings.
- In the sidebar, click Keyboard.
- Scroll to the Dictation section.
- Turn Dictation on.
- Confirm the language macOS should recognize.
- Review the microphone shown in the input settings and choose the one you use.
- Check the shortcut. On many Macs, pressing the Fn key twice starts Dictation, though you can choose another shortcut from the same menu.
Click inside any text field, press the selected shortcut, and begin speaking. macOS should display a microphone indicator while it listens. Press the shortcut again, click the microphone control, or stop speaking according to the behavior shown on your Mac.
The shortcut matters because it removes friction. If you have to search for Dictation every time, you'll use it only for occasional notes. With a reliable key combination, you can dictate a reply, switch apps, and start again without changing your normal writing setup. For a more detailed walkthrough of the native feature, see this guide to Dictation on Mac.
Test it in a low-risk text field
Open Notes and dictate two or three ordinary sentences. Say punctuation explicitly, using phrases such as “comma,” “period,” or “question mark,” then read the result before testing the feature in an important message.
This first test checks three things at once: whether the selected microphone works, whether macOS understands your voice in your environment, and whether you're comfortable correcting the output. A quiet room and a close microphone usually produce a better experience than a laptop placed across a desk, but your own setup is the useful benchmark.
Customizing Your Built-In Macro Dictation Preferences
The default settings are enough for a quick experiment, but professional use usually requires a little adjustment. A language mismatch, an inconvenient shortcut, or punctuation that behaves differently from your preferred writing style can erase the time saved by speaking.
Set the language and input device
Return to Apple menu > System Settings > Keyboard > Dictation. Under the language controls, select the language and regional variant that match the way you speak and write. macOS availability varies by language, region, Mac configuration, and Dictation feature set, so don't assume that one language behaves exactly like another. Apple documents these conditions in its macOS Dictation and privacy guidance.
If you use an external microphone, choose it deliberately rather than leaving the input source to chance. Record a short test in Notes after changing the device. Listen for clipped words, room echo, and background noise, then move the microphone or adjust its position before blaming the recognition engine.
Choose a shortcut you'll actually use
In the same Dictation panel, click the shortcut menu and select an option that doesn't conflict with your applications. The double-press Fn shortcut is easy to remember, while a custom key combination may suit a compact keyboard or a desk setup with an external microphone.
Avoid placing Dictation on a key you regularly press by accident. An unexpected listening session is distracting, especially when you're working with sensitive material. Test the shortcut in Mail, Notes, and a browser text box so you know how it behaves across the places where you write.
Review punctuation and processing behavior
Look for the setting related to automatic punctuation, if it's available for your language and configuration. Automatic punctuation can make normal prose feel more natural, but it won't always understand a deliberate pause, a list, or an unusual sentence structure. If the output becomes harder to predict, turn it off and speak punctuation manually.
Privacy needs its own check. Apple states that some configurations process Dictation on the device, while others send dictated speech to Apple's servers for analysis. The exact behavior can change with language, region, hardware, and the text field you're using. Personal information, including contacts and names, may also be used to improve recognition. If you handle client records, medical information, legal notes, or confidential research, verify the mode rather than treating the built-in feature as automatically local.
Privacy rule: Test the exact language, Mac, and application combination you plan to use. “Built in” doesn't by itself mean “processed locally.”
To test offline behavior, disconnect the Mac from the internet, open Notes, and start Dictation using your usual language. If the feature stops working or presents a message about connectivity, that configuration depends on a server. Repeat the test in the specific apps and text fields that matter to your work, because system interfaces and search boxes may behave differently from ordinary document fields.
Understanding the Core Capabilities of Voice Control Pro
Native Dictation is a useful baseline because it starts wherever the cursor is. The limitation appears when the first transcript needs substantial cleanup, when you move between several applications, or when privacy requires a clearly local workflow.
A dedicated application can shift the unit of work from “speech converted into text” to “a usable draft inserted at the cursor.” The application described here uses a global shortcut, accepts natural speech, and inserts cleaned transcription into the active text field across apps. Its Fly Mode processes speech locally and pauses cloud features, which gives privacy-conscious users a more direct way to control where audio is handled. A free local mode also provides unlimited dictation through an on-device AI model.
The practical difference isn't just speed. Cleanup levels, a custom dictionary, transcription history, and language handling affect how much time you spend after speaking. The application supports 99+ languages, with either a selected language or automatic language detection, according to the publisher's product information. Availability and quality can still vary by language, microphone, accent, and subject vocabulary.
The publisher describes the workflow as often four times faster than typing, but treat that as a product positioning claim rather than a guarantee for every user or task. Your own result depends on whether the inserted text is accurate enough to send, how often you pause, and whether your writing needs technical names, formatting, or careful tone. A feature overview of the application's unique capabilities provides more detail on its assistant and text-processing functions.
For a short message, native Dictation may be sufficient. For repeated drafting across Mail, Slack, browser editors, documents, and AI prompts, the value lies in reducing the distance between speaking and a text block you can edit normally.
Installing and Configuring Voice Control Pro
Install the application only after deciding what you need from it. If your priority is local processing, plan to test Fly Mode before dictating confidential material. If your priority is speed across apps, test insertion in the applications you use most rather than relying on a polished demo.
Download and grant access
- Download the macOS application from the publisher's website.
- Open the installer or downloaded application and complete the installation.
- Launch the application from Applications or Spotlight.
- When macOS requests microphone access, choose Allow. Without microphone access, the application can't capture speech.
- If macOS requests accessibility access, open Apple menu > System Settings > Privacy & Security > Accessibility.
- Locate the application in the list and turn its permission on.
- Return to the application and complete its onboarding prompts.
Accessibility permission is important for system-wide insertion. It allows the application to interact with the active text field so the result can appear where your cursor is positioned. If text doesn't appear after a successful recording, check this permission before changing other settings.
Configure the first recording
Open the application's settings and choose your microphone. Select a language or enable automatic detection if your workflow requires it. Then review the global shortcut and choose one that you can press and hold without interfering with other applications.
Click into a plain Notes document, hold the shortcut, speak a complete sentence, and release it. The expected workflow is simple: hold, speak, release, then review the inserted text. Test a second sentence containing a proper name, a number spoken as words, and punctuation. This reveals more than a short greeting because real work includes terms the model may not recognize cleanly.
If the application offers cleanup levels, start with the least aggressive setting. Increase cleanup only when the result preserves your meaning and preferred tone. Heavy rewriting can make a rough draft look tidy while removing wording you intended to keep.
Verify local mode before sensitive work
Open the privacy or processing controls and enable Fly Mode when you need processing to remain on the computer. The mode pauses cloud features, so some advanced functions may not be available while it's active. That trade-off is deliberate: you get a more restricted feature set in exchange for a local processing boundary.
Disconnect the internet and repeat the Notes test. Then try the same workflow in the text fields you care about, such as an email composer, a browser-based document, or a support system. Confirm that the text lands at the cursor and that the application still behaves as expected without connectivity.
After the basic test, explore the custom dictionary if your work includes names, product terms, medical vocabulary, or technical language. Add only terms you use regularly. A smaller, carefully maintained vocabulary is easier to validate than a long list of guesses.
Use the following video as a visual reference for the setup and workflow:
Comparing Native Tools Versus Third-Party Software
The right choice depends on three questions: How accurate is the usable output? Where is the audio processed? How much correction can you tolerate? Price matters, but a free tool that forces you to rewrite every paragraph can be more expensive in time than a paid tool that produces a clean first draft.
Accuracy is an end-to-end measurement
A controlled academic study found that participants were consistently slower when typing than when reading material aloud for dictation. The difference between reading and dictation times was statistically significant at p = 0.0022, and the study calculated that word accuracy needed to exceed 83.3% for an ASR-assisted dictation workflow to outperform conventional typing. See the controlled ASR dictation study for the methodology and threshold.
That threshold explains why a fast microphone demo can mislead you. Recognition errors, missing punctuation, hesitations, corrections, and editing all consume time. The useful measurement is not how quickly you can speak. It's how quickly you produce text you can send, publish, file, or revise.
A 2025 multi-country study of clinicians measured a median keyboard speed of 21.4 words per minute and a median voice-dictation speed of 93 words per minute, a 4.3-fold difference, with statistical significance at p < 0.0001. The same study reported a median accuracy rating of 80%, while more than 25% of participants rated transcription between 90% and 100% accurate. These findings come from the clinical typing and dictation study, and they show why speed and accuracy must be evaluated together.
Privacy changes the comparison
| Requirement | Native macOS Dictation | Dedicated local-capable application |
|---|---|---|
| Short, low-risk text | A practical starting point | Useful, but may be more setup than needed |
| Processing location | Depends on language, region, hardware, and feature | Can provide an explicit local mode when supported |
| Cleanup and formatting | Usually closer to literal transcription | May offer adjustable cleanup and vocabulary controls |
| App-wide workflow | Works in many standard text fields | Designed for insertion at the cursor across apps |
| Offline confidence | Must be tested for the selected configuration | Test the local mode with the internet disconnected |
The native feature is the sensible first test for casual notes, short replies, and users who don't need extensive cleanup. A third-party option becomes easier to justify when you dictate throughout the day, switch between several applications, need text to arrive already cleaned, or must establish a local workflow for sensitive material.
For a broader look at system-wide voice input on macOS, consult this guide to voice control for Mac. Whatever you choose, run the same test in both tools: dictate a real email, include a name or specialist term, pause naturally, and measure the corrections required before you could send it.
Building Your Optimal Voice Input Strategy
Use native macOS Dictation as your baseline. It's the right choice when you need occasional speech input, your text is short, and the selected configuration performs acceptably in your own language and applications.
Choose a dedicated tool when correction work keeps cancelling out the speed benefit, when you need consistent insertion across apps, or when local processing is a requirement rather than a preference. Test the exact mode you'll use offline, then repeat the test with a real email, note, or report instead of a scripted sentence.
A simple decision rule works well:
- Use native Dictation for quick, low-risk text and occasional accessibility support.
- Use a local-capable workflow for confidential notes, provided your offline test succeeds.
- Use cleaned transcription when you regularly turn rough spoken thoughts into professional drafts.
- Measure usable output, not raw speaking speed. The relevant question is whether the final text needs less effort than typing.
If you're building a broader system for applications, interviews, or career planning, this guide to productivity tools for job seekers can help you evaluate voice input alongside other workflow tools.
Voice Control Pro inserts cleaned speech directly at your cursor, works across Mac applications, and offers Fly Mode for local processing when privacy matters. Test it with a real message or document, then visit Voice Control Pro to see whether its workflow fits the way you write.