
A meeting starts in fifteen minutes. The Zoom download is sitting in your Dock, but double-clicking it produces no useful result. Maybe macOS blocks the package, the installer stalls at the final prompt, or Zoom opens successfully only to report that it can't access your microphone.
That experience is common because a Zoom install on Mac isn't finished when the package appears to complete. The Mac may still need the correct architecture-specific download, administrator approval, privacy permissions, and a full application restart. Follow the sequence below and you'll avoid the familiar cycle of reinstalling Zoom immediately before every important call.
Table of Contents
- Why the Right Zoom Install Matters on Mac
- Preparing Your Mac Before You Download Zoom
- What to confirm before downloading
- Running the Zoom Installer Package
- Finish the package cleanly
- Granting Permissions After Installation
- Test the permissions in a real flow
- Fixing Common Zoom Install Problems on Mac
- Beyond the Install Keeping Zoom Working
Why the Right Zoom Install Matters on Mac
A failed installation rarely announces itself clearly. The app might launch, but audio doesn't connect. The camera preview stays blank. Screen sharing fails when the meeting begins. In each case, the package may have installed correctly while the surrounding macOS permissions or account settings remain incomplete.
Zoom's macOS installation history shows why this process deserves more care. In early April 2020, researchers identified an installer behavior that could place Zoom on a Mac through a preinstall script and trigger installation in a way some users considered too permissive. On April 2, 2020, Zoom updated the installer to use a more conventional package flow with clearer user consent, as documented in AppleInsider's report on the macOS installer change.
That episode matters beyond its historical context. Zoom became widely used during the pandemic, so the way it handled installation and user approval affected ordinary Mac users, not just software administrators. Today, the practical lesson is straightforward: download from Zoom's official source, select the build that matches your Mac, and treat permissions as part of setup rather than an interruption.
Practical rule: A clean Zoom installation should end with a test of audio, video, and any permission-dependent feature you plan to use.
The rest of the workflow follows the order I use when preparing a Mac for reliable use. Check the hardware first, remove remnants of failed attempts, run the standard package installer, then refresh Zoom after changing privacy settings.
Preparing Your Mac Before You Download Zoom
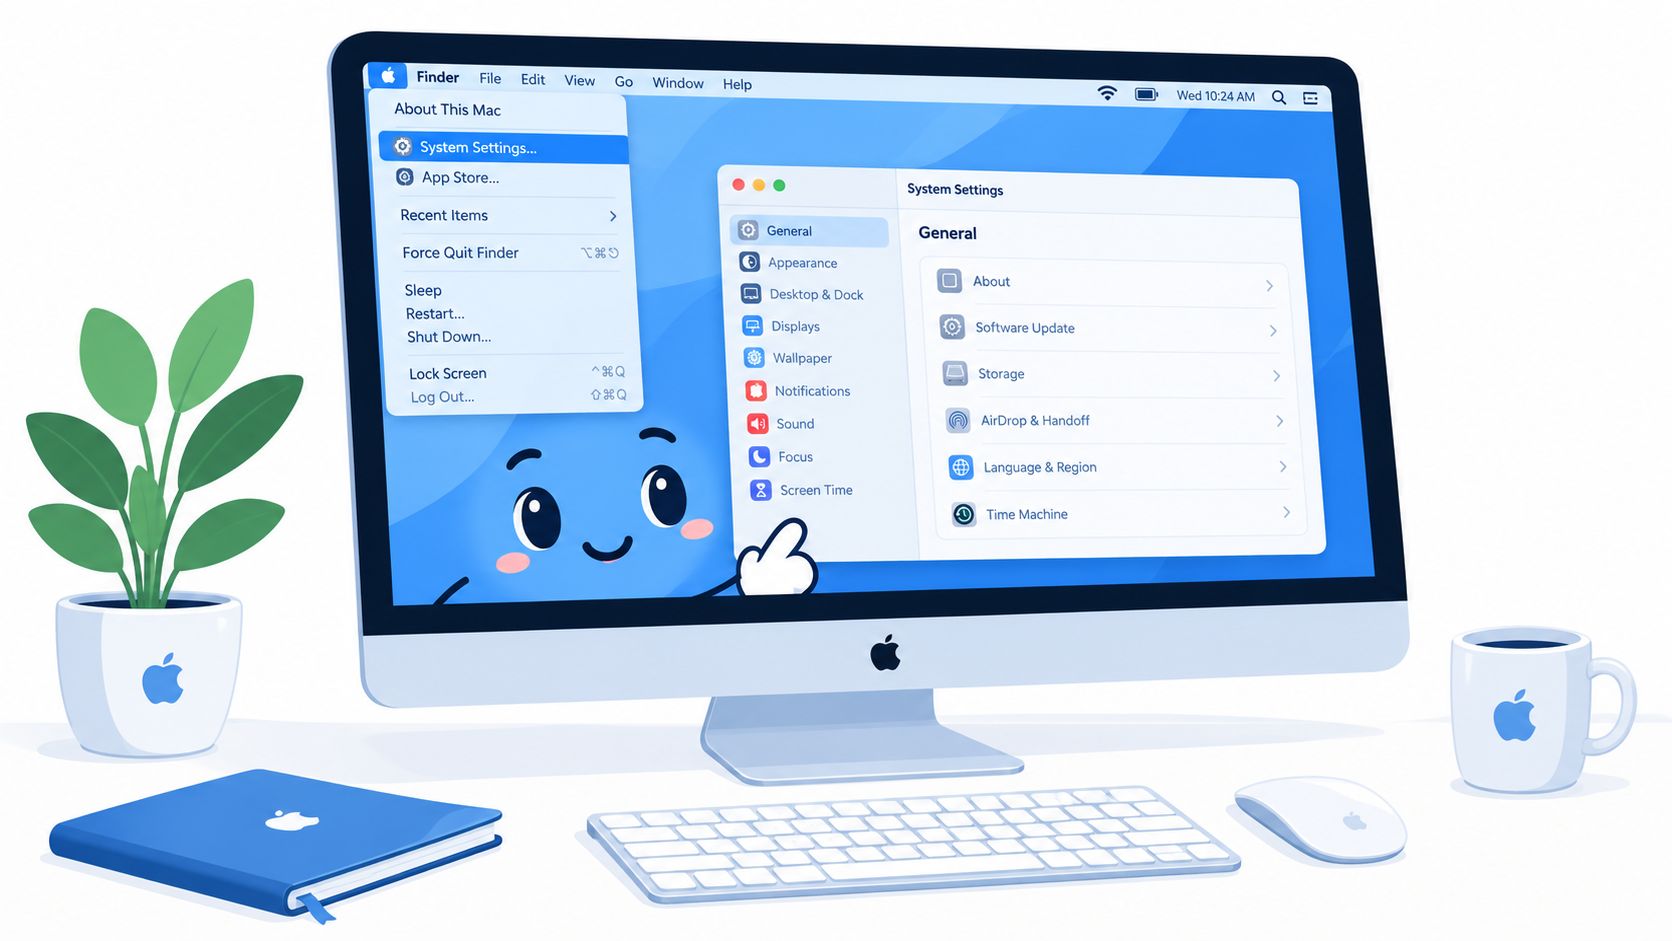
Start with the Apple menu. Choose About This Mac and identify whether the computer uses Apple Silicon or an Intel processor. Zoom's current guidance separates those download paths, so choosing the correct one avoids unnecessary compatibility friction. Zoom also identifies the full macOS package as zoomusInstallerFull.pkg in its installation documentation, rather than treating the download as an indistinct application file. You can review the architecture guidance in Zoom's Mac download instructions.
Before downloading again, inspect the Applications and Downloads folders. If a previous attempt left zoom.us.app or an old installer package behind, move those leftovers to the Trash. A reboot is useful after an interrupted installation because it clears the state left by a half-completed attempt and gives the next package a clean starting point.
Open System Settings, select Privacy & Security, and review the security controls before you run the package. Zoom recommends allowing applications from the App Store and identified developers when Gatekeeper prevents the installer from proceeding. Don't lower Mac security indiscriminately, and don't approve an installer obtained from an unrelated download page. The source matters as much as the setting.
What to confirm before downloading
- Processor type: Select the Apple Silicon or Intel build that matches About This Mac.
- Existing Zoom files: Remove an old
zoom.us.appand abandoned package from a failed attempt. - Account access: Keep the password for a local administrator account available if you need an all-user installation.
- Security settings: Review Privacy & Security so macOS can make an informed decision about the identified developer.
Zoom's support documentation also describes zoomusinstall.log as a dedicated macOS installation log. That detail is useful in managed environments, where an administrator may need evidence of where the process stopped rather than another blind reinstall.
Running the Zoom Installer Package
Download the Mac client from Zoom's official Download Center. If the download doesn't open automatically, open Downloads in Finder and double-click zoomusInstallerFull.pkg. The package launches Apple's standard Installer interface, which is preferable to opening an unfamiliar executable or a repackaged application from a third-party site.
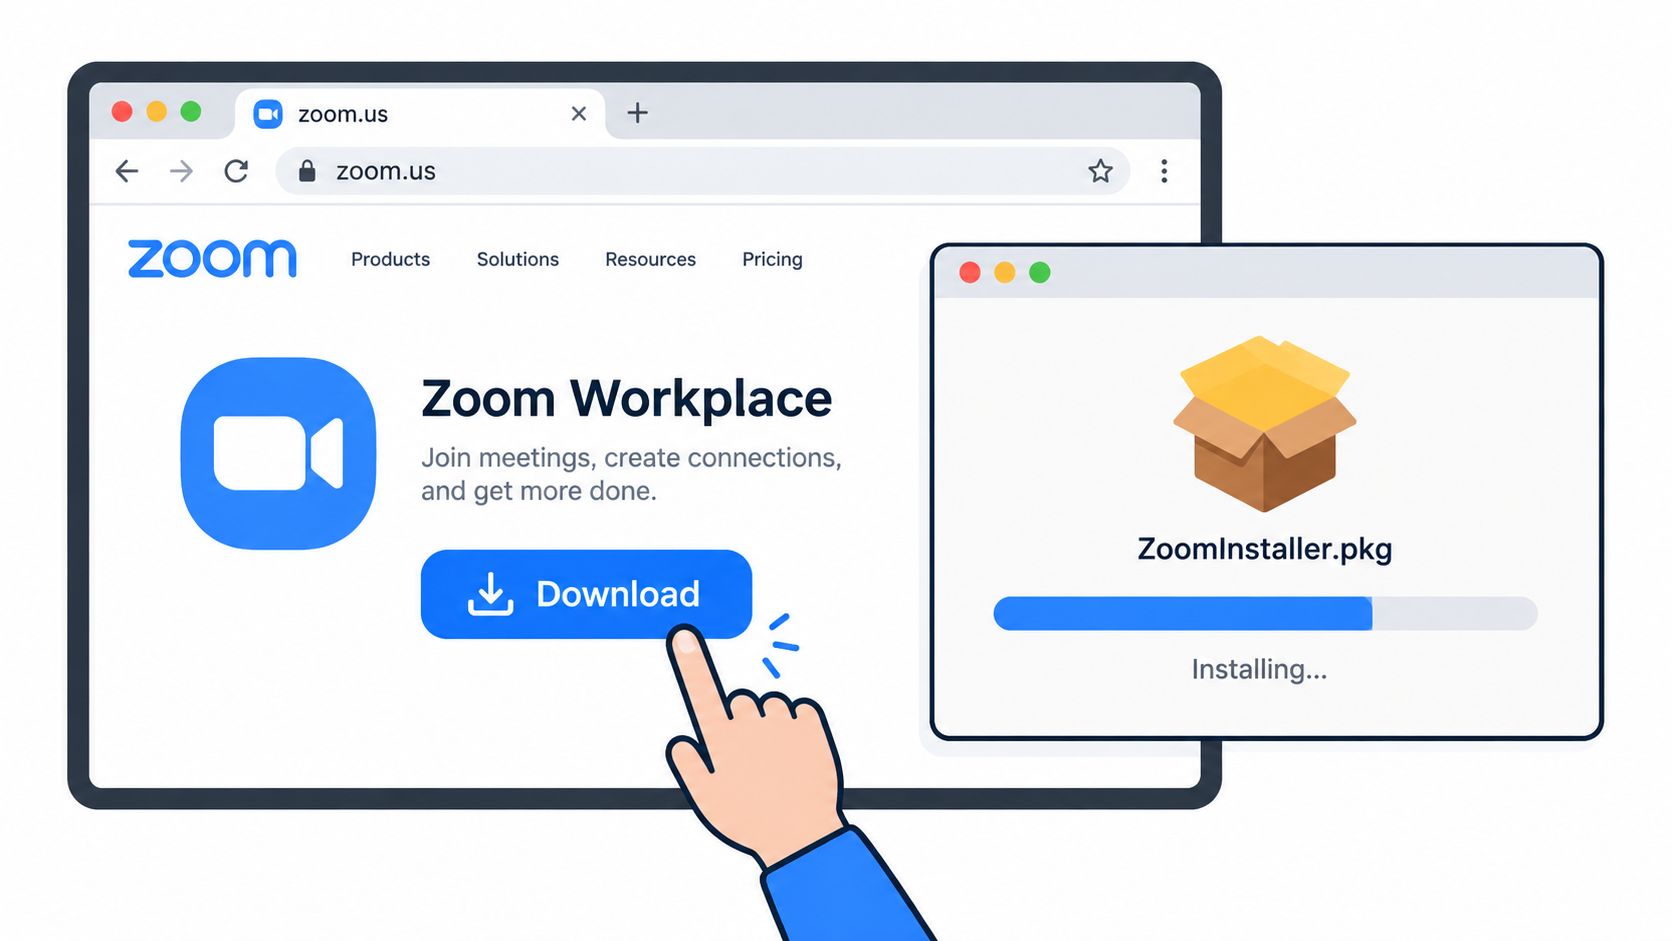
Read the introduction, select Continue, and review the license screen. Choose Agree when you're ready to proceed. The installer then asks where to install Zoom. Keep the suggested system location unless your organization's deployment instructions specify another destination. A system-wide installation can make Zoom available to multiple accounts, but that choice has an administrative consequence.
When you reach the installation confirmation, select Install Software. macOS may ask for administrator authentication. This is the password for a local administrator account, not automatically your iCloud password. If Touch ID is configured for an administrator account, macOS may offer it as an alternative authentication method.
Zoom's official installation steps explain that installing for all users requires administrator credentials. If you don't have those credentials, stop rather than repeatedly submitting a standard user password. Ask the Mac's owner or IT administrator to approve the installation, because changing account permissions isn't a substitute for authorization.
Finish the package cleanly
Wait for the Installer to show its completion summary, then select Close. If Finder mounted the package as an installer volume, eject that volume from the Finder sidebar. Open Applications, locate zoom.us.app, and launch it from there first. Once you know the correct application opens, drag it to the Dock for convenient access.
The package completing successfully doesn't confirm that Zoom can use every feature. It confirms that the application was placed on the Mac. Microphone, camera, file, and other macOS permissions may still need attention before a meeting works as expected.
Granting Permissions After Installation
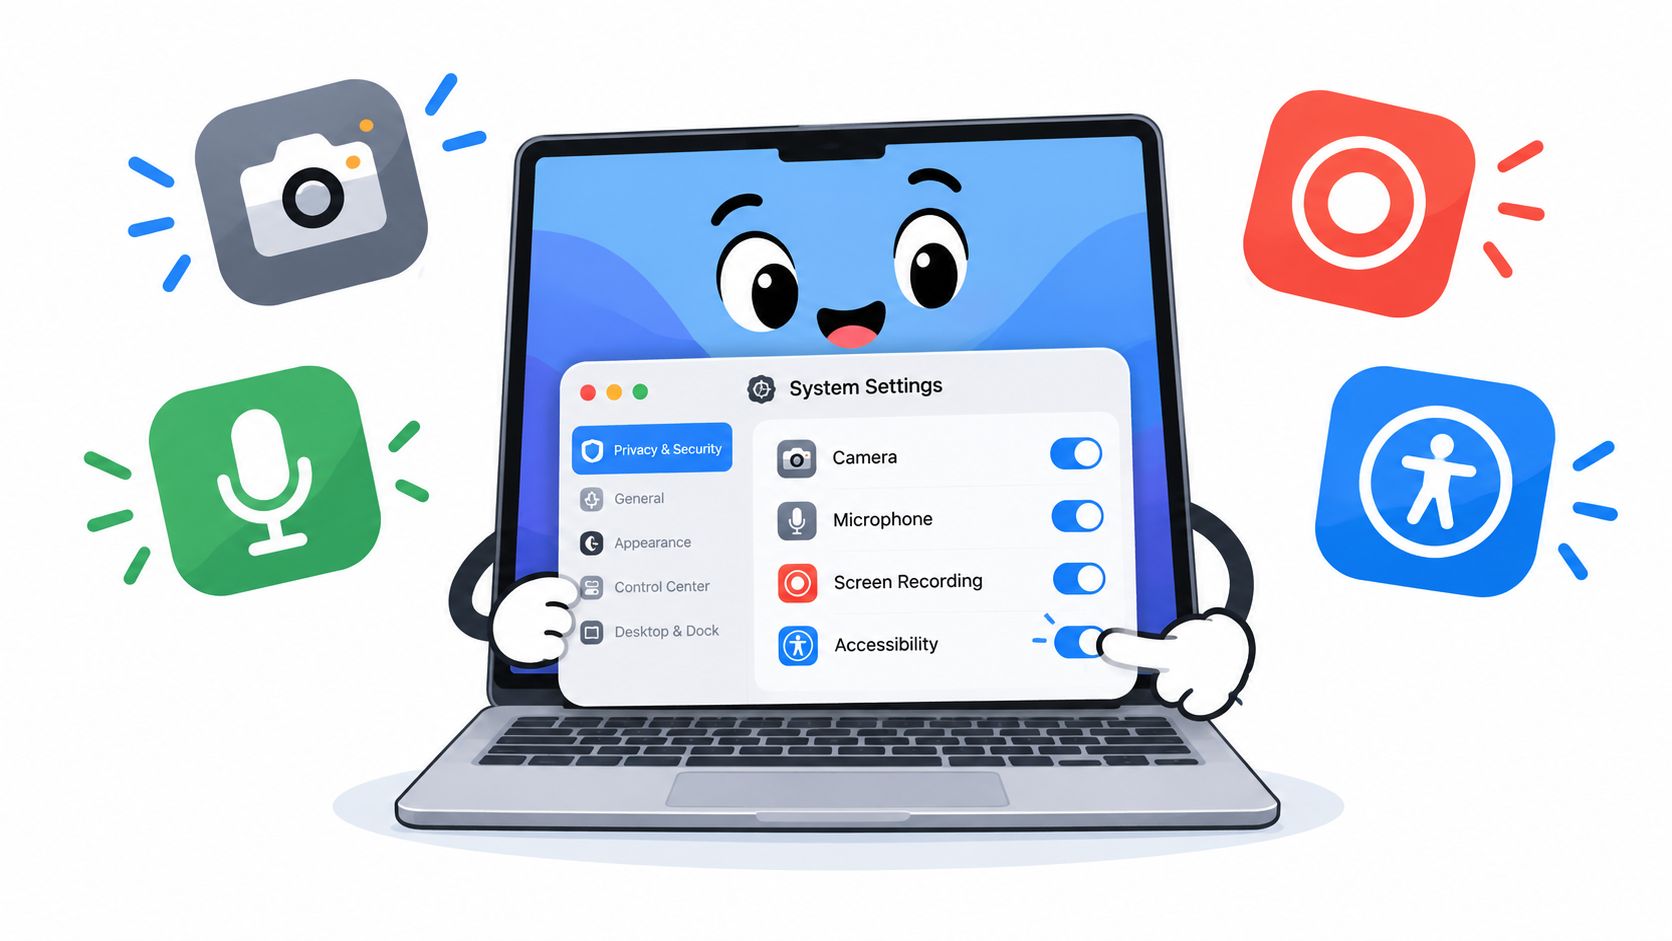
Open Zoom once, then close it before changing permissions. In System Settings, go to Privacy & Security and review the entries relevant to the way you use Zoom. Start with Microphone, then check Camera. If you present content, review Screen Recording as well. Accessibility permissions may also matter for workflows that use system-level interaction or assistive tools.
Some macOS versions show a lock control before changes become available. Select the lock, authenticate with Touch ID or an administrator password, then enable the Zoom entry where it appears. If Zoom isn't listed, launch the app and trigger the feature once, then return to the relevant privacy pane. macOS often uses the first access attempt to present the permission request.
A toggle change isn't always immediately visible to the running application. Fully quit Zoom from its menu, not just by closing the meeting window, and relaunch it. Zoom notes that permission changes may require an application restart before they take effect. This is why a user can enable microphone access and still see the old error until Zoom has been restarted.
For voice-heavy work, the same permission model applies to other Mac applications. Voice Control Pro's guide to voice control on Mac provides another example of why microphone and accessibility approval belongs in the setup process rather than being left until the first live call.
Test the permissions in a real flow
Open Zoom's audio settings and confirm that the intended microphone responds to input. Check the camera preview, then start a test screen-share flow if you use presentations. Don't assume a successful launch proves that the permissions are correct.
The Background Items area can also appear in Privacy & Security. It relates to background processes that may run at login. Leave organizational settings intact on a managed Mac, and ask IT before changing a background item that your company controls.
Fixing Common Zoom Install Problems on Mac
Most installation failures fall into a small set of patterns. Start with the least destructive remedy, then move to a reinstall only when the package or an earlier installation is clearly damaged.
If the installer stops at Install Software, return to System Settings > Privacy & Security and inspect the security notice near the bottom of the pane. If macOS offers Open Anyway for the blocked Zoom installer, verify that you intentionally downloaded the package from Zoom before approving it. A developer warning isn't a reason to approve an unknown file.
The message “Zoom can't be opened because the developer cannot be verified” calls for the same caution. Finder's context menu may offer Open after you right-click the application, but don't use that option for a package whose origin you can't confirm. On a company Mac, Gatekeeper policy may be enforced by an MDM profile, so the correct fix may require an administrator rather than a local override.
Zoom documents a more specific recovery path for some Ventura installation failures. Enable Full Disk Access for Installer, allow Installer to access the Downloads folder, reboot, and retry the installation. If the application installs but cannot use a required device, restart Zoom after changing its permissions. The full recovery procedure is described in Zoom's macOS installation troubleshooting guidance.
| Error Message | Most Common Cause | Fastest Fix |
|---|---|---|
| Install Software does not finish | Gatekeeper or Installer access is blocking the package | Review Privacy & Security, then use Open Anyway only for a verified Zoom download |
| Developer cannot be verified | macOS doesn't recognize the package approval state | Confirm the source, then use Finder's Open option or contact IT |
| Installation fails on Ventura | Installer lacks access to protected locations | Grant Installer Full Disk Access and Downloads access, reboot, and retry |
| Zoom opens without device access | Permission changes haven't reached the running app | Quit Zoom completely and relaunch it after approving access |
An Apple Silicon Mac can also behave differently when the wrong build is selected. Return to Zoom's Download Center and choose the architecture that matches About This Mac rather than layering compatibility software onto an uncertain installation.
When to reinstall: Reinstall when the package is damaged, the app is missing after completion, or a fresh download reproduces a known package failure. Repair permissions first when Zoom launches normally and only one device or feature fails.
For persistent corruption, uninstall the current version, remove the remaining Zoom application and related files according to your organization's policy, reboot, download the latest package again, and reinstall. On managed Macs, don't delete profile-controlled files in /Library/Application Support without IT approval. A configuration profile can restore or override settings, making a manual cleanup ineffective.
If a Mac user's voice commands stop working after the Zoom repair, keep the symptom separate from the installer itself and use this troubleshooting guide for voice commands not working to isolate the input issue.
Beyond the Install Keeping Zoom Working
A completed package is the starting point for maintenance. Zoom's current Mac guidance distinguishes Apple Silicon and Intel downloads and documents the zoomusinstall.log, which makes the installation process easier to troubleshoot across a group of Macs. In a workplace, an administrator may also use mass deployment with a preconfigured plist, so the user's visible installer isn't always the complete deployment method.
For an individual Mac, keep Zoom updated through its in-app update path when available. For managed devices, IT may distribute a new .pkg through a device-management system instead. Don't replace a company-managed copy with a personal download before checking policy, because the organization's configuration can control permissions, update behavior, and background components.
The preference file at ~/Library/Preferences/us.zoom.xos.plist can hold settings that aren't exposed prominently in the Zoom interface. Treat that file as configuration, not a universal repair tool. Changing it won't grant microphone or camera access when macOS privacy controls deny those permissions.
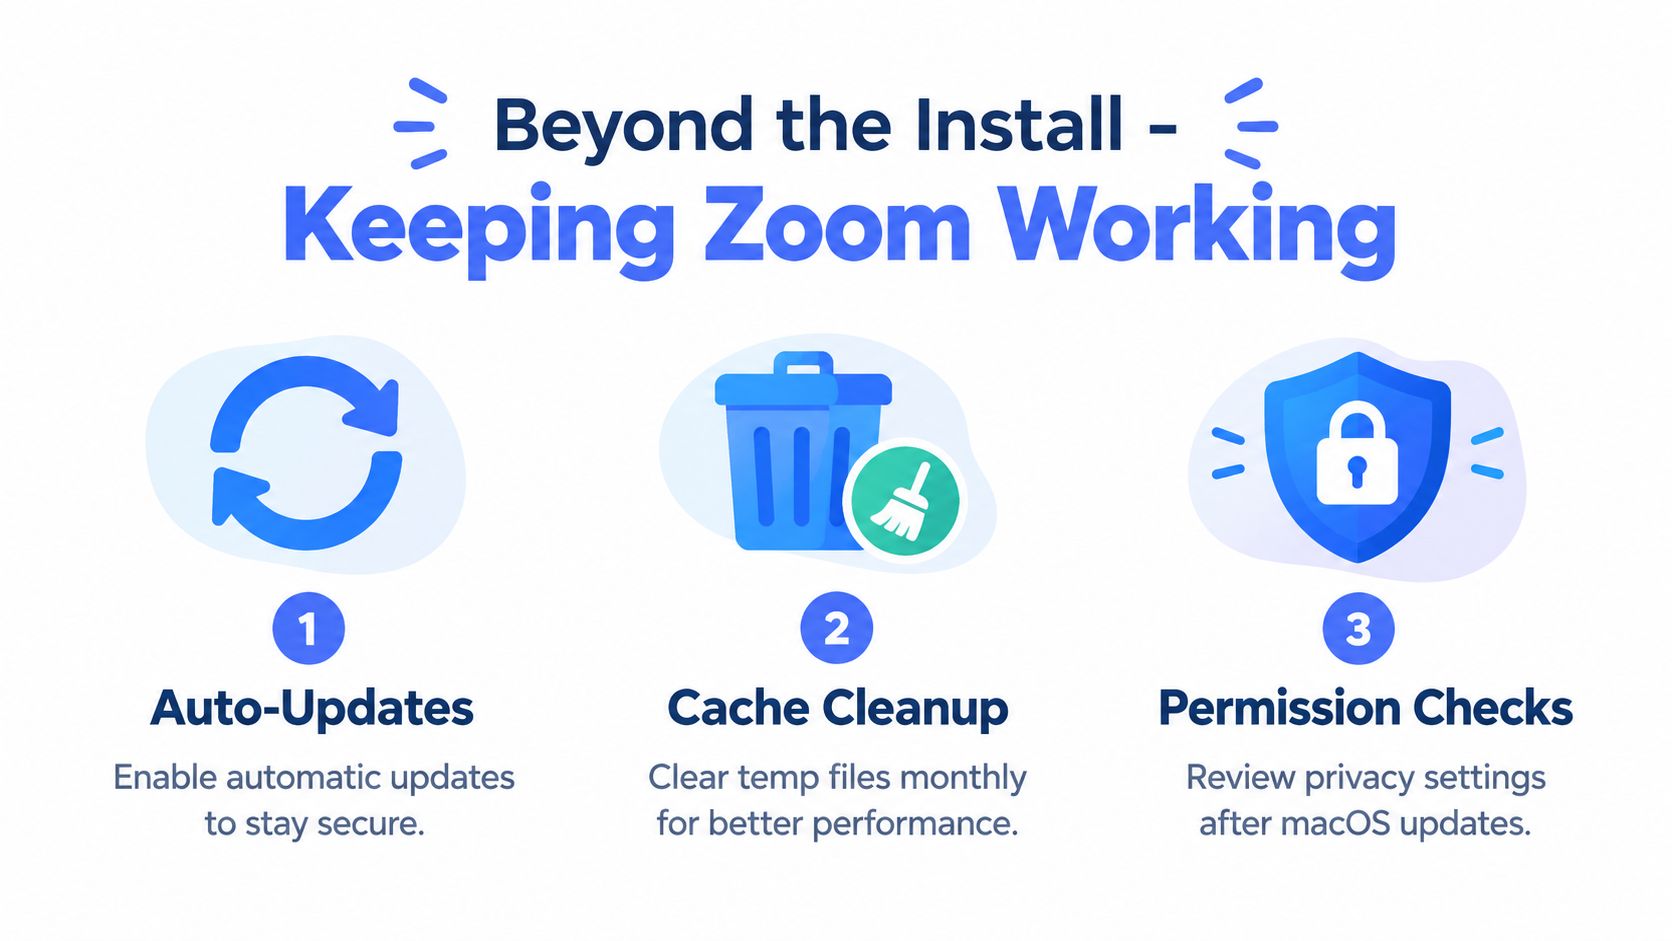
A macOS update can also change how permissions are presented or cause a previously approved access request to need review. After an operating system update, check Zoom's microphone, camera, and screen-sharing access again, then restart the app. If you dictate notes or messages during your workday, this microphone setup guide for voice dictation on desktop can help you separate hardware problems from application permissions.
Use this mental checklist:
- Installed: The correct architecture-specific package completed.
- Authorized: Administrator approval and macOS security decisions are settled.
- Permitted: Audio, video, and presentation access work.
- Managed: MDM, plist settings, and update rules are understood.
- Tested: You can join, speak, show video, and share content before the meeting begins.
Voice Control Pro inserts clean voice transcription wherever your cursor is on macOS or Windows and can use local processing through Fly Mode when privacy matters. If you want to reduce typing while configuring Zoom, drafting meeting notes, or writing follow-up messages, visit Voice Control Pro and try its voice-first workflow.