
You're halfway through a long email, your thumbs hurt, autocorrect has mangled a client's name, and the idea you had a moment ago is buried under constant switching between chat, documents, and browser tabs. Typing isn't just taking time. It's interrupting the act of thinking.
Learning how to speech to text effectively solves more than the mechanical problem of entering words. A well-designed dictation workflow can reduce the speed ceiling imposed by your keyboard, ease repetitive strain, and separate composition from editing. The important question isn't which app has the longest feature list. It's which combination of microphone, activation method, transcription mode, and cleanup habits removes typing from the part of your work where it slows you down.
The practical path is straightforward: choose the right tool category, prepare your microphone, test accuracy on your own speech, use push-to-talk dictation in the apps where you work, and build habits that make spoken punctuation and corrections feel natural. If typing speed is still part of your workflow, this resource on how to boost words per minute can complement dictation rather than replace it.
Table of Contents
- When Typing Slows You Down
- Treat dictation as an input layer
- Choosing the Right Speech-to-Text Tool
- Match the tool to your working surface
- Setting Up Your Microphone and Environment
- Fix permissions before troubleshooting accuracy
- Run a short pre-session check
- Measuring Real-World Accuracy
- Run a four-part self-test
- Keep a baseline
- Dictating Anywhere With Voice Control Pro
- Configure the first session
- Workflow Habits That Make Dictation Stick
- Build a spoken editing vocabulary
When Typing Slows You Down
Typing creates a hard limit between the speed of your thoughts and the speed of your fingers. That limit becomes obvious during long emails, project briefs, meeting notes, and first drafts. You may know exactly what you want to say, but the keyboard forces you to compose in small fragments, pause to correct errors, and reconsider sentences before the idea has fully formed.
Speech removes much of that bottleneck because speaking and composing happen in one continuous motion. You can explain a problem as you would to a colleague, then clean up the transcript afterward. That separation matters. Editing while you compose often produces cautious, fragmented writing, while dictating a rough version lets you preserve momentum.
Typing also creates physical friction. Long sessions can aggravate wrist, hand, or finger discomfort, especially when the same motions repeat throughout the day. Speech-to-text isn't a medical treatment, but it gives you another input method when you need to reduce keyboard use or work around a temporary injury.
Treat dictation as an input layer
The most useful setup works across your existing workflow. You should be able to dictate an email, a customer reply, a spreadsheet cell, a code comment, or an AI prompt without exporting audio, opening a separate transcription window, and copying the result back.
That leads to three practical questions:
- Where do you type most? A browser-heavy workflow has different needs from one centered on desktop documents or development tools.
- What kind of speech do you produce? Short commands, polished prose, meeting notes, and technical vocabulary expose different weaknesses.
- What information can leave your device? Sensitive customer details, student records, internal plans, and proprietary code may require local processing.
Practical rule: Choose the workflow that makes dictation available at the cursor, not the tool that produces the most impressive demo transcript.
Start with one repeatable task, such as drafting one email each morning. Don't try to dictate every message immediately. Your first goal is to learn the activation gesture, recognize where transcription needs correction, and discover which words or phrases belong in your custom vocabulary.
Once the setup feels predictable, expand into notes and longer documents. Dictation works best when it becomes a normal input choice rather than a special project you have to remember to start.
Choosing the Right Speech-to-Text Tool
The tool decision becomes easier when you compare three categories instead of browsing endless product lists. Built-in operating system dictation is convenient and usually adequate for occasional notes. Cross-platform dictation apps add more control over insertion, vocabulary, and commands. Local AI engines offer privacy and customization, but they usually demand more setup and maintenance.
| Tool Type | Cost | In-App Insertion | Local Privacy Mode | Best For |
|---|---|---|---|---|
| Built-in OS dictation | Usually included with the operating system | Varies by app and field | Usually limited or dependent on platform settings | Casual notes and short messages |
| Cross-platform dictation apps | Varies by product and plan | Often designed for broad app coverage | Available in some products | Frequent dictation across work tools |
| Local AI engines | Software may be free, hardware and setup vary | Depends on the interface you build or choose | Yes, when configured for on-device processing | Sensitive work and technical users |
Built-in options have an obvious advantage: they're already installed. They're useful when you need to dictate a quick message and don't care about advanced vocabulary, consistent behavior across apps, or detailed cleanup controls. Their limitations become more visible when you move between browsers, CRM fields, code editors, and document tools.
Match the tool to your working surface
Cross-platform apps such as Dragon, Otter, and Wispr Flow focus on broader workflows. Depending on the product, you may get custom vocabulary, punctuation commands, team features, or a more reliable way to place text into the active field. The relevant feature isn't transcription quality. It's whether the app lets you speak where you're already working.
Voice Control Pro provides system-wide insertion through a global shortcut, with a Fly Mode for local processing and a free local mode for on-device dictation. It's one middle-path option for users who want broad in-app insertion without building a local engine from scratch. You can review its approach in this speech-to-text app guide.
Local engines based on Whisper-class models offer a different trade-off. Audio can remain on your computer, which is valuable for confidential material, but installation, model selection, hardware compatibility, and updates become your responsibility. A local setup can be excellent for a technically confident user, but it's less attractive if you need effortless dictation across multiple devices.
Use this decision rule:
- Choose built-in dictation if you dictate occasionally and mostly use standard text fields.
- Choose a cross-platform app if you switch among documents, chats, browsers, spreadsheets, and specialist software.
- Choose a local engine or local mode if privacy is a primary requirement and you're willing to trade convenience for control.
The best choice is the one that matches where your cursor appears during a normal workday.
Setting Up Your Microphone and Environment
A better microphone often improves dictation more than another round of software settings. A USB headset microphone is usually a practical upgrade over a laptop microphone because it stays close to your mouth and rejects more room sound. For long sessions, a small desktop condenser with a cardioid pattern can provide a more comfortable upgrade, provided you position it carefully.
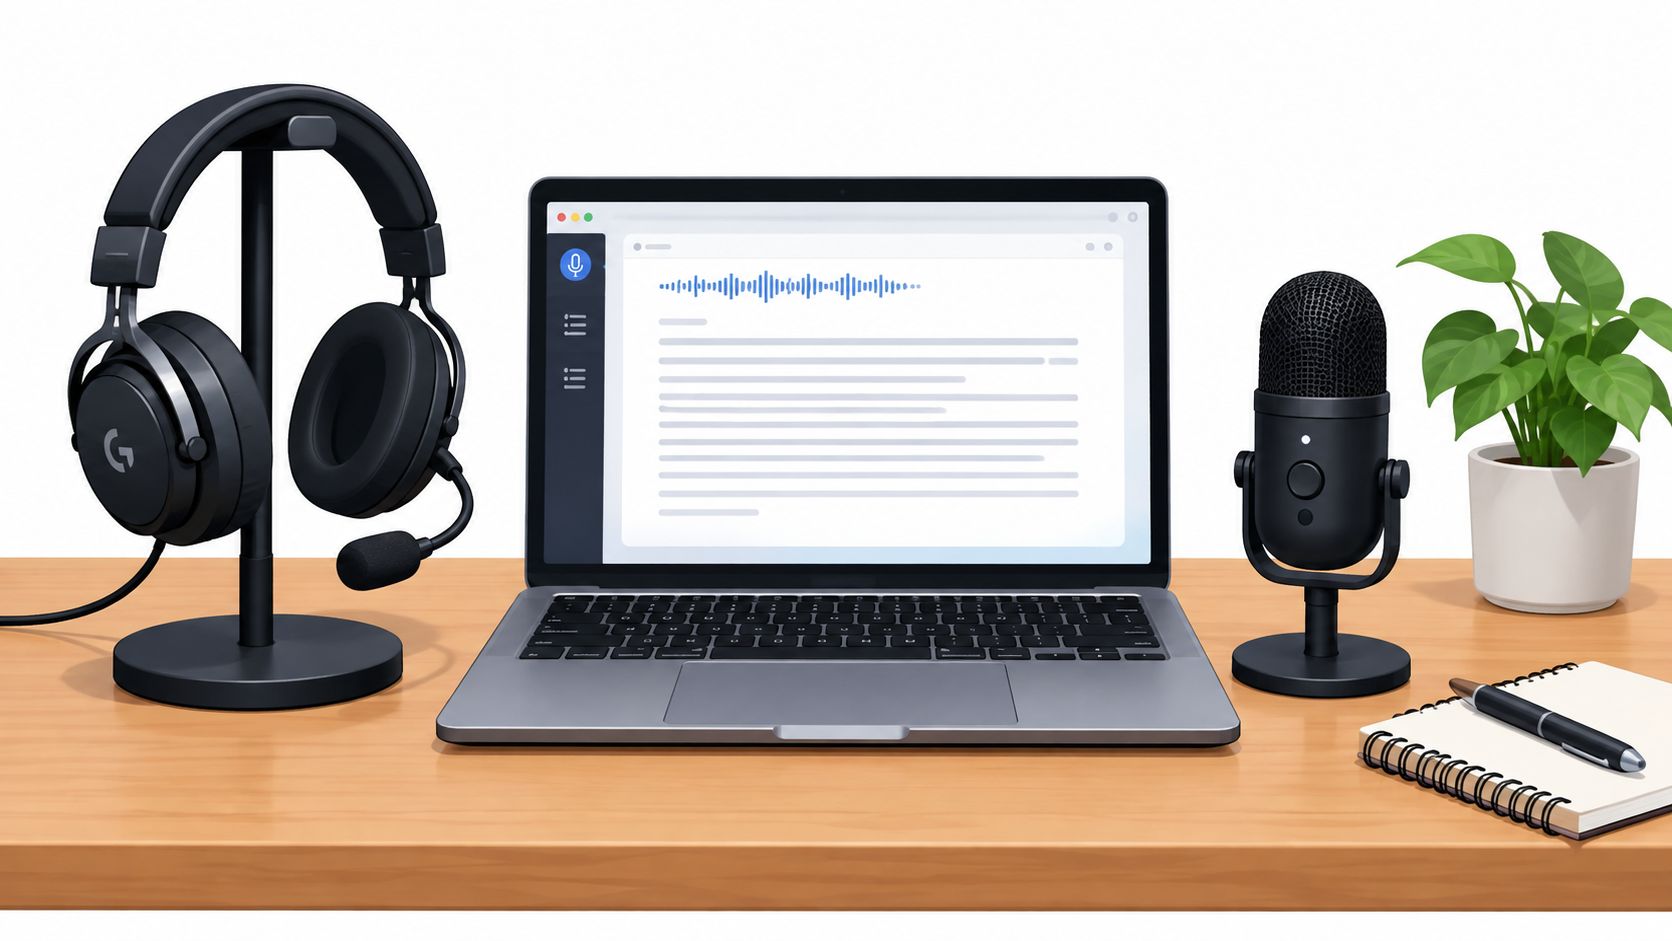
Keep the microphone roughly four to six inches from your mouth, slightly off-axis rather than directly in front of your lips. That angle reduces bursts of air from sounds such as “p” and “b.” A foam windscreen or pop filter helps further. If you use a desktop microphone, placing it below chin level can reduce breath noise while keeping the capsule close enough for a strong voice signal.
Fix permissions before troubleshooting accuracy
Speech recognition can fail without notice when the operating system or individual app lacks microphone access. Check the system privacy settings, then inspect the application-specific permission list. Windows and macOS expose microphone controls in their privacy settings, while iOS and Android manage access through app permissions. A browser may also ask for its own permission even after the operating system has approved the microphone.
Before a long session, verify three things:
- Input selection: Confirm that your chosen microphone, not the laptop or monitor microphone, is active.
- Permission status: Check both the operating system and the app or browser.
- Signal level: Speak normally and make sure the input meter responds without constantly reaching its maximum.
A fan blowing across the capsule, a keyboard directly under a desktop microphone, or fingers typing while the microphone is live can degrade the audio that reaches the model. Don't judge a transcription engine until you've removed those avoidable problems.
For Apple users, this guide to Mac dictation provides a useful reference for the built-in workflow and permission path. For a more deliberate hardware arrangement, compare the recommendations in this microphone setup guide for desktop voice dictation.
Run a short pre-session check
Use the same brief routine before important dictation:
- Select the intended microphone.
- Speak a sentence containing a name, number, and technical term.
- Listen for fan noise, keyboard impact, clipping, or room echo.
- Read the result before starting the actual document.
This takes about a minute in practice and prevents you from discovering at the end of a long draft that the wrong microphone was active.
Measuring Real-World Accuracy
A single accuracy score can hide the conditions that matter most to you. Speech recognition usually performs differently with clean read speech, spontaneous explanation, accents, specialized vocabulary, and background noise. Independent speech-perception research links lower recognition accuracy with greater accent distance and worse signal-to-noise conditions, with some listening conditions and speaker groups showing recognition differences of roughly 15% to 30% in the cited study.
The standard benchmark is word error rate, or WER. It represents the share of words a system gets wrong compared with a human transcript. Many practical evaluations treat roughly 30% WER as a hard quality cutoff, because output above that level is often unsuitable for polished dictation workflows as described in this speech-to-text benchmark.
Those figures aren't a promise about what you'll experience. Your microphone, speaking style, vocabulary, and environment determine whether a tool works for your actual day.
Run a four-part self-test
Record short samples rather than relying on a product demo. Keep the wording consistent when comparing tools.
- Quiet sample: Read one paragraph in a quiet room at your normal pace.
- Spontaneous sample: Explain a familiar task without reading from a script.
- Noise sample: Repeat a short passage with a realistic background sound, such as a fan or shared workspace.
- Vocabulary sample: Include names, acronyms, product terms, code identifiers, and other words your work uses regularly.
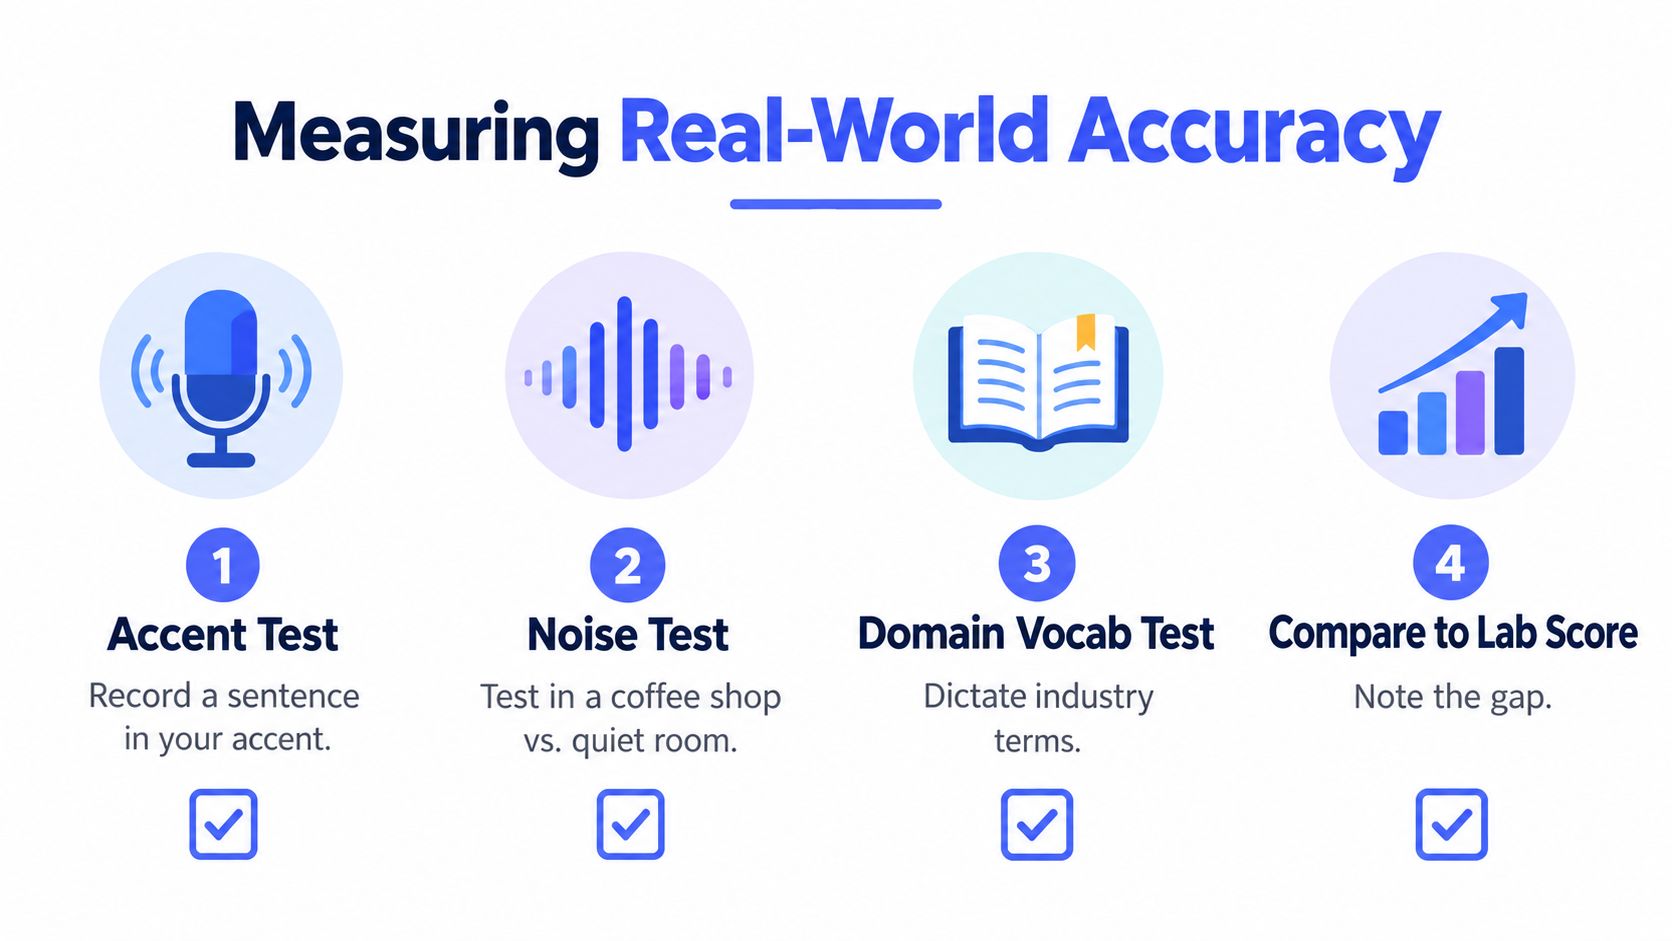
Compare the transcript with your recording and mark substitutions, insertions, and dropped words. A substituted word is the wrong word in place of the one you said. An insertion adds something you didn't say, while a dropped word disappears entirely. This breakdown tells you more than a headline score because it shows whether your problem is vocabulary, noise, pacing, or model behavior.
Keep a baseline
Save the same short recording and its corrected transcript. Test it again after a major operating system update, a microphone change, or a move to a noisier workspace. If accuracy falls, check microphone gain first, then try another language model or add the recurring term to a custom vocabulary. Push-to-talk can also outperform always-on listening when you need tighter control over what the system receives.
The most important test is subgroup performance. Coverage on clean speech doesn't guarantee consistent results for accented, spontaneous, or specialized speech. Recent coverage of speech-to-text accessibility and linguistic bias describes the same practical gap, near-human performance in clean conditions but more material degradation for underrepresented linguistic groups, non-native accents, and domain-specific speech in this independent review.
For additional repair techniques, use these speech-to-text accuracy tips after you've identified the error pattern rather than changing settings at random.
Dictating Anywhere With Voice Control Pro
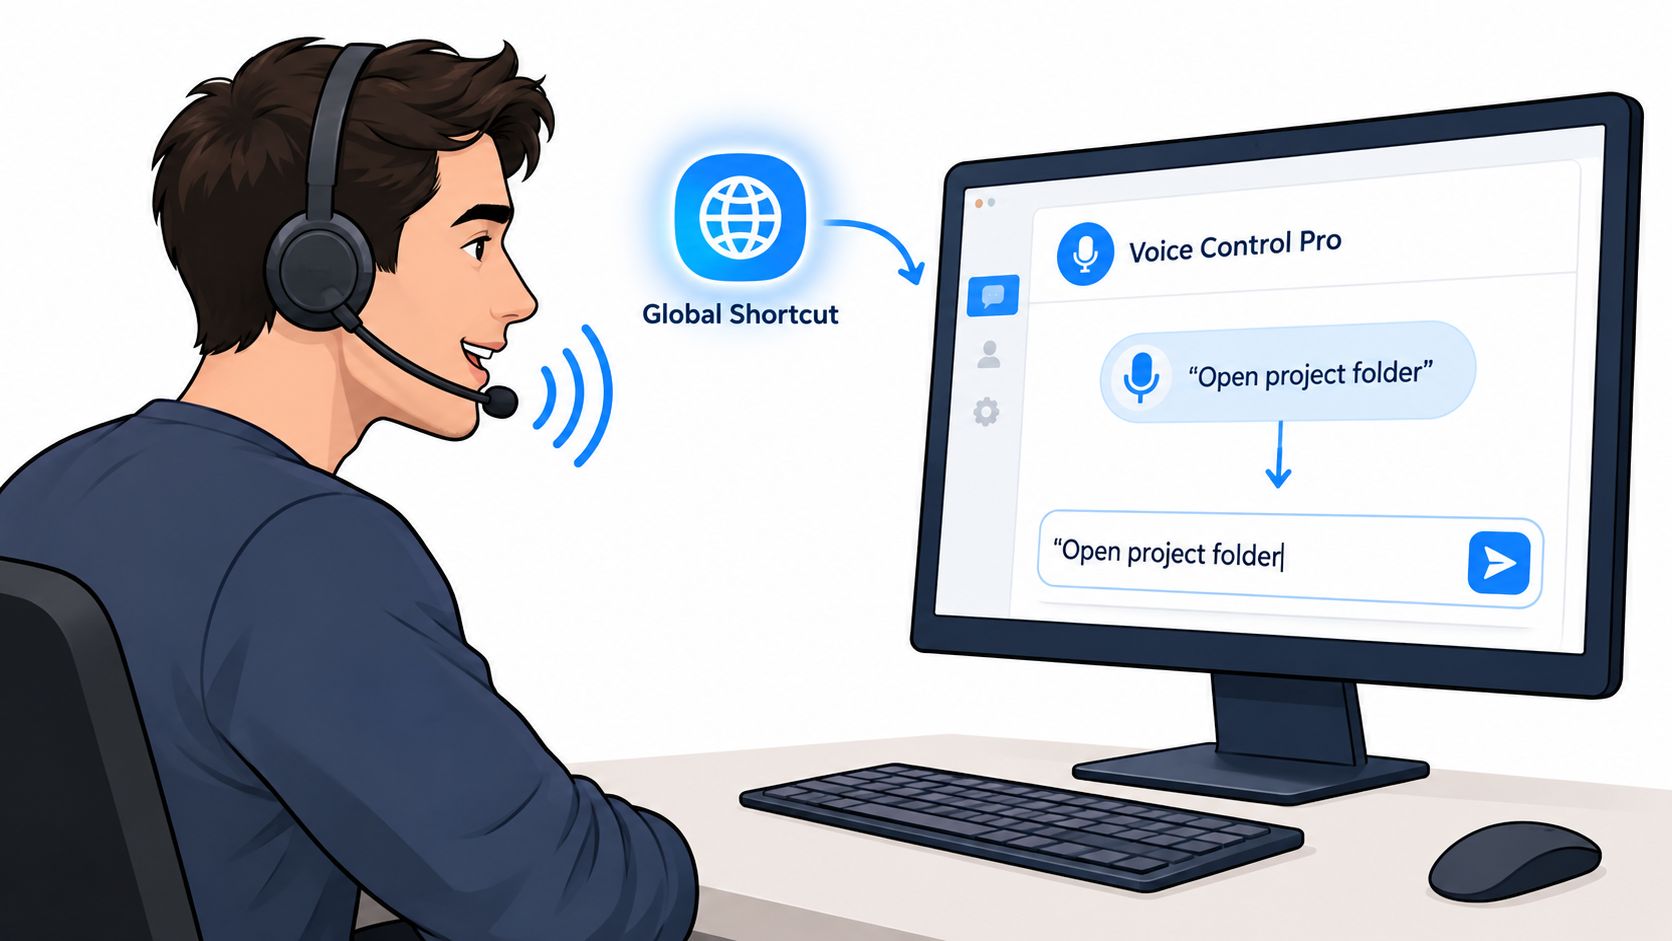
The useful Voice Control Pro workflow is deliberately simple. Place the cursor in the field where you want text, hold the global shortcut, speak naturally, and release the shortcut. The transcription is inserted into the active field, so you don't need to open a separate recorder, copy a transcript, and paste it back into your document.
That cursor-first behavior matters in places where built-in dictation can be inconsistent. You can use the same interaction in a browser reply, a CRM note, a spreadsheet cell, a code editor comment, or an AI prompt. The app's value comes from keeping speech inside the application where the work is happening.
Configure the first session
Install the app, then complete the permission prompts before testing. You'll generally need microphone access so the app can capture speech and accessibility access so it can insert text into the active application. Choose a shortcut that you can hold comfortably without conflicting with your most-used software.
Then check the insertion behavior in the apps you use most. A browser text box, a document editor, and a specialist tool may handle inserted text differently. Test each one with a short sentence before dictating a full response.
Three operating modes cover the main daily trade-offs:
- Fly Mode: Processes dictation locally on the computer and pauses cloud features. Use it for confidential material, proprietary notes, customer information, or any workflow where audio should stay on the device.
- Free local mode: Provides unlimited dictation through an on-device AI model. It's useful when privacy, offline access, or predictable local processing matters more than access to cloud capabilities.
- Standard cloud mode: Suits general typing when you want fast transcription and don't need local-only processing.
The choice doesn't have to be permanent. A practical routine is to use cloud mode for ordinary low-risk messages, then switch to a local mode before dictating sensitive content. That creates a clear boundary instead of forcing every task into the same compromise.
Privacy decision: Don't ask only whether a tool is accurate. Ask where the audio is processed, what features stop working in local mode, and whether that trade-off fits the document in front of you.
In-app insertion also changes how you edit. Rather than producing a transcript for later cleanup in another window, you can dictate a paragraph, review it in place, and use the keyboard only for targeted corrections. That approach keeps context visible and makes dictation feel like a direct alternative to typing rather than a separate transcription project.
Workflow Habits That Make Dictation Stick
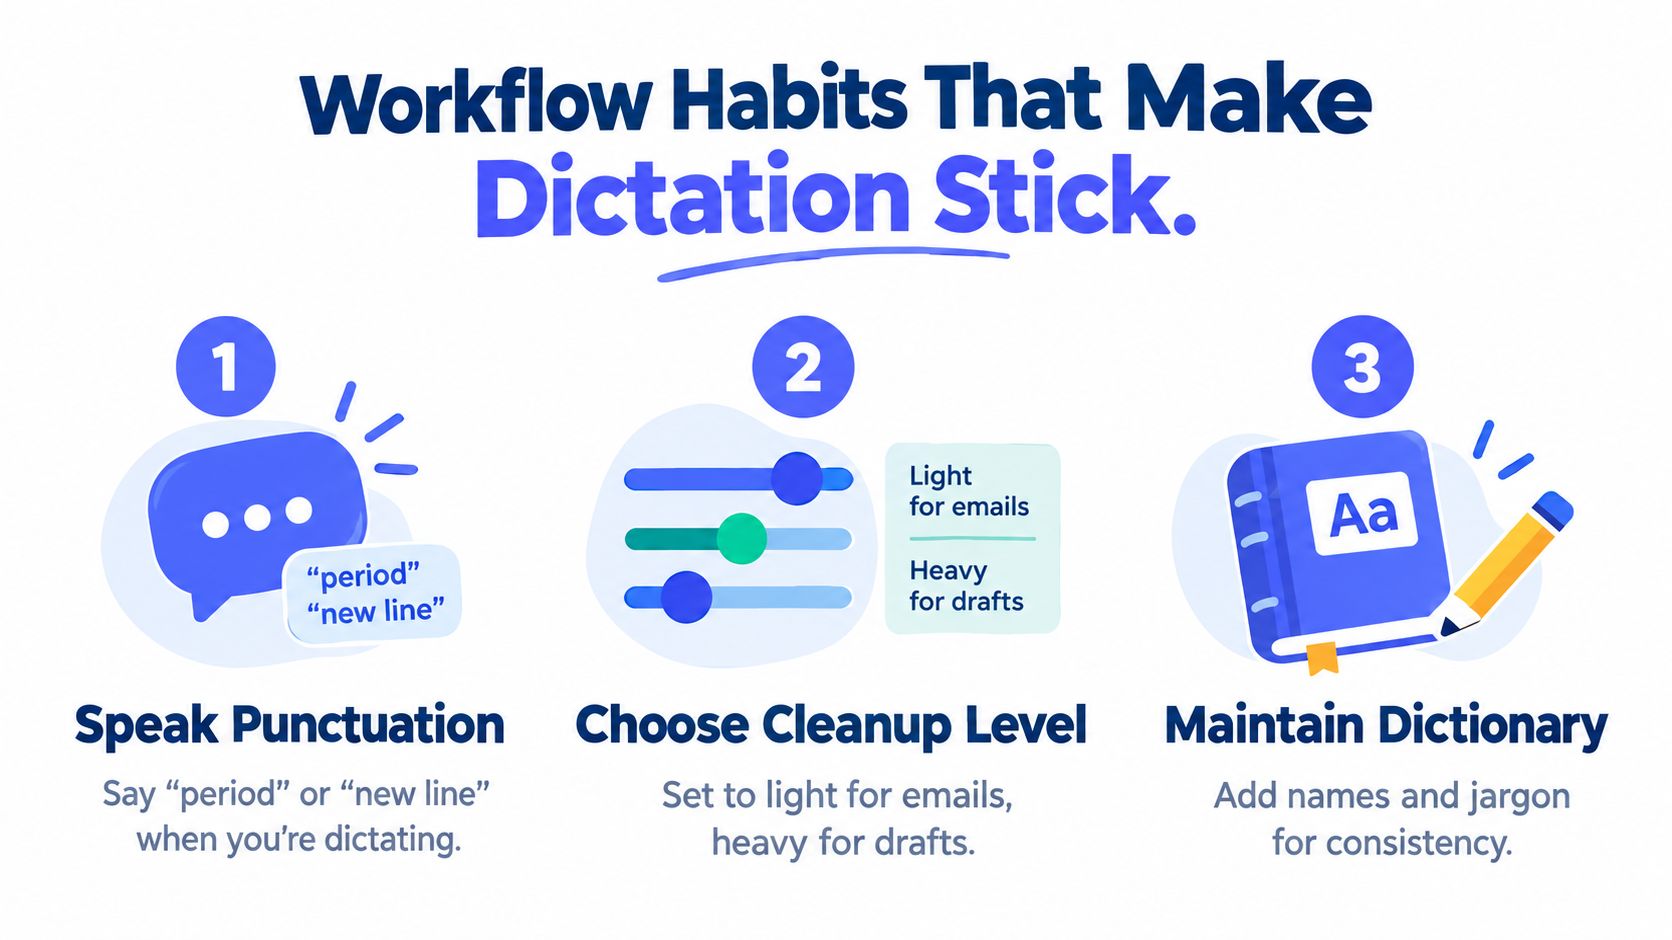
Accuracy gets you started, but habits determine whether dictation survives past the novelty stage. Speak punctuation when you need predictable structure. Say “period,” “comma,” “question mark,” “new line,” or “new paragraph” according to the commands your chosen tool recognizes. Without those cues, a long spoken passage may arrive as a block that takes longer to edit than expected.
Your cleanup setting should match the task. A light cleanup level works well for short emails when you want your phrasing preserved. A heavier cleanup level can help with rough drafts, but it may also remove hesitations or reshape wording you intended to keep. Review the output before sending, especially when the transcript includes names, commitments, or specialized terms.
Build a spoken editing vocabulary
Short commands reduce keyboard dependency. Use voice commands for paragraph breaks, new lines, and obvious corrections where your tool supports them. For more complex changes, dictate the sentence again or select the relevant text and use a normal keyboard shortcut. Trying to perform every edit by voice can create more friction than it removes.
Maintain a custom dictionary for people's names, product names, acronyms, recurring phrases, and industry vocabulary. Add terms when they fail repeatedly, not after every minor error. The dictionary should reflect the words you use often enough to justify maintaining it.
Dictation can also support accessibility. People managing repetitive strain, wrist discomfort, or a temporary hand injury may benefit from alternating speech with keyboard and mouse input. It also helps writers, researchers, support agents, and developers who can explain an idea faster than they can type it.
Try this adoption plan:
- Day one: Dictate one short email and correct it manually.
- During the first week: Replace short replies and routine notes with spoken input.
- During the second week: Extend the workflow to longer documents, brainstorming, and research notes.
The objective isn't perfect transcription on the first attempt. It's fewer keystrokes across the day, with a correction process that remains faster and less tiring than typing everything from scratch.
Voice Control Pro inserts spoken words directly at your cursor across the apps you already use, with cloud and local modes for different privacy needs. Set up the shortcut, test it in one email and one document today, then visit Voice Control Pro to make dictation part of your regular writing workflow.